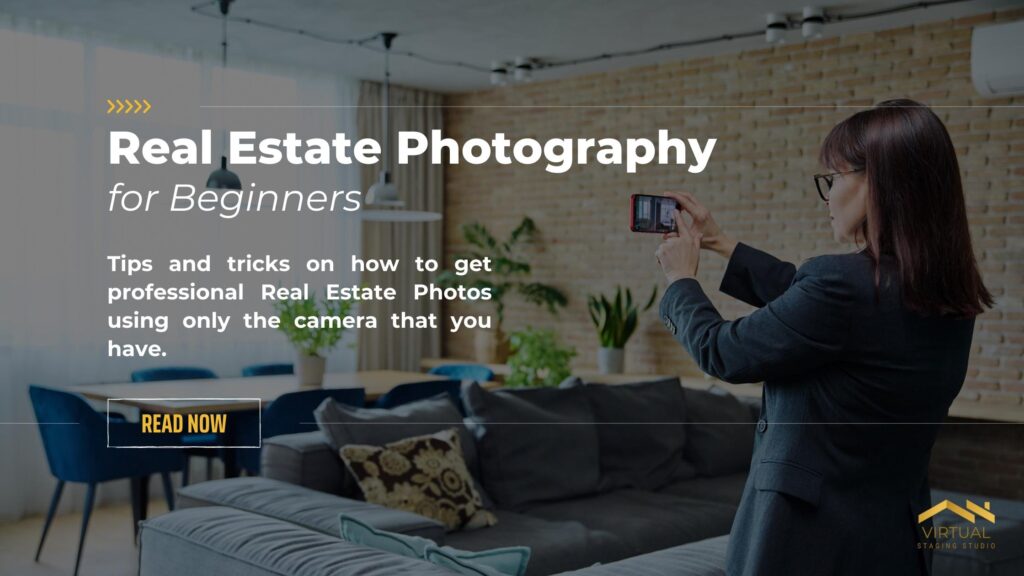
BY: JOAN REY
Article outline:
- Mastering the basics of Real Estate Photography
- Understanding the Importance of Lighting
- Choosing the Right Camera Settings for Real Estate Photography
- Capturing Professional Real Estate Photos with Your Phone: Expert Tips and Techniques
- Setting Up the Perfect Lighting for Real Estate Photos
- Composition Techniques to Make Your Real Estate Photos Stand Out
- Editing Tips and Tricks for Professional Real Estate Photos
- The importance of editing in real estate photography
- Using editing software to enhance real estate photos
- Optimizing and Sharing Your Real Estate Photos for Maximum Exposure
- Optimizing Real Estate Photos for Online Platforms
- Effective Strategies for Sharing Real Estate Photos on Social Media
How to take professional Photos for beginners
Can’t afford to hire a professional photographer for your listing? or don’t have any budget for expensive camera equipment? In this article, we will cover all the things you need to know including how to use your phone to capture stunning Real Estate Photos.
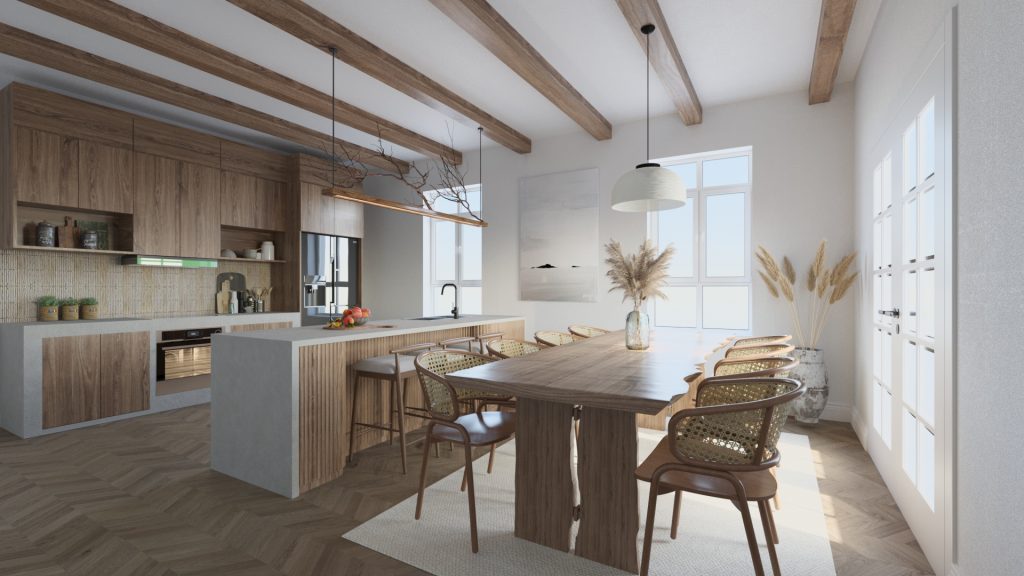
Mastering the Basics of Real Estate Photography
When it comes to real estate photography, mastering the basics is essential. In this section, we will discuss two key aspects: understanding the importance of lighting and choosing the right camera settings.
Understanding the Importance of Lighting
Good lighting can make all the difference in real estate photography. It helps showcase the property’s key features and creates a pleasing overall look. Pay attention to both natural and artificial light sources and how they interact with the space. Experiment with different lighting techniques to find the best approach for each scene.
Here is a Video to learn more about the lighting technique
Choosing the Right Camera Settings for Real Estate Photography
Selecting the appropriate camera settings is crucial for capturing high-quality real estate photos. Use manual mode to have complete control over exposure settings such as aperture, shutter speed, and ISO. Aim for a balanced exposure, avoiding blown-out highlights or underexposed shadows. Consider using a tripod to ensure sharpness and stability, especially in low-light situations.
More tips in this Video
Capturing Professional Real Estate Photos with Your Phone: Expert Tips and Techniques
In this guide, we will share expert tips and techniques to help you take professional-level real estate photos using just your phone. With a few simple adjustments and some creative strategies, your property’s visual appeal will shine through in your photos.
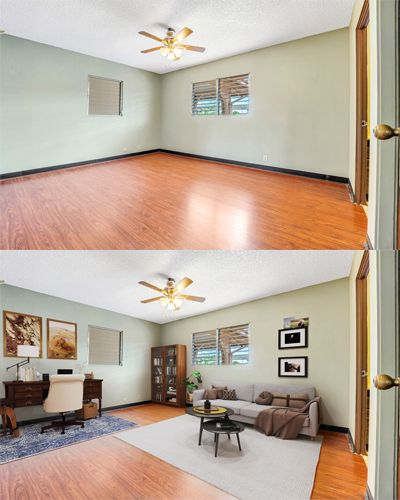
- Prepare and Stage the Space: Before grabbing your phone, ensure the property is clean, clutter-free, and well-organized. Remove personal items and unnecessary objects to present a visually appealing space. Pay attention to details such as lighting, furniture arrangement, and overall tidiness to create an optimal setting for captivating photos.
- Utilize Natural Light: Natural light enhances the overall aesthetic of a photograph. Open curtains and blinds to allow ample sunlight to flood into rooms. Take advantage of golden hour photography, capturing warm and inviting scenes during the early morning or late afternoon when the sunlight is soft and diffused.
- Apply the Rule of Thirds: The rule of thirds is a composition guideline that divides the frame into a 3×3 grid. Positioning key elements along these intersecting lines or at their intersections adds visual interest to your photos. For real estate photography, consider placing architectural features or focal points at these points of interest to create well-balanced and visually pleasing compositions.
- Use HDR Mode: Most smartphones offer an HDR (High Dynamic Range) mode, which automatically combines multiple exposures to produce a well-exposed image. Enable HDR mode to capture a wider range of detail and prevent overexposed or underexposed areas, especially when dealing with contrasting light conditions.
- Capture Wide-Angle Shots: Wide-angle shots are ideal for showcasing spacious rooms or capturing the exterior of a property. Use the panorama or wide-angle mode on your phone to capture as much of the space as possible. However, be cautious not to distort the image; maintain a balanced and natural perspective.
- Employ the Rule of Symmetry: Incorporating symmetry in your compositions can add a sense of balance and elegance to your real estate photos. Look for architectural features, lines, or patterns that exhibit symmetry, such as a symmetrical room layout or a perfectly aligned facade. Position yourself in the center of the space to achieve a symmetrical framing.
- Edit and Enhance: After capturing your real estate photos, utilize photo-editing apps to enhance their overall appeal. Adjust the brightness, contrast, and saturation levels to ensure an accurate representation of colors and details. Straighten crooked lines, remove minor imperfections, and enhance the clarity of the image to create a polished and professional final result.
Setting Up the Perfect Lighting for Real Estate Photos
When it comes to real estate photography, lighting plays a crucial role in capturing high-quality and visually appealing photos. Here are some different lighting techniques you can use to enhance your real estate photos:
- Natural Light: Utilizing natural light can create beautiful and soft lighting conditions for your real estate photos. Start by opening curtains or blinds to allow as much natural light into the space as possible. Avoid shooting during the middle of the day when the light is harsh; instead, opt for early morning or late afternoon when the light is softer.
- Artificial Lighting: In cases where natural light is insufficient or unavailable, you can use artificial lighting techniques to brighten up the space. Consider using external flashes or strobes to add additional light sources and ensure even lighting throughout the room. Experiment with different angles and distances to find the most flattering lighting setup.
- HDR Photography: High Dynamic Range (HDR) photography involves taking multiple photos at different exposures and merging them to create a balanced and evenly lit final image. This technique is particularly useful for capturing interior photos with challenging lighting situations, such as rooms with large windows that let in a lot of outside light.
- Light Painting: Light painting involves using a handheld light source, such as a flashlight, to selectively illuminate certain areas of a room. This technique can be handy for highlighting specific features or adding a warm glow to certain areas. Experiment with different light intensities and movement patterns to create dynamic and visually interesting effects.
- Balanced Fill Lighting: When photographing rooms with a mix of natural and artificial light sources, it’s essential to achieve a good balance between the two. This can be done by using fill lighting techniques to supplement the existing light sources and create a more cohesive and well-exposed image.
By mastering various lighting techniques and understanding how they can impact your real estate photos, you can ensure that each shot captures the true essence and beauty of the property you are photographing.

Composition Techniques to Make Your Real Estate Photos Stand Out
When it comes to real estate photography, composition plays a crucial role in capturing the attention of potential buyers. Here are some composition techniques that can make your real estate photos stand out:
- Rule of Thirds:The rule of thirds is a fundamental composition rule in photography. Imagine dividing your image into thirds both horizontally and vertically, resulting in a grid of nine equal parts. By placing the key elements of your photo along these grid lines or at their intersections, you can create a more balanced and visually pleasing composition.
- Leading Lines:Leading lines are lines within your photo that direct the viewer’s eye toward a specific point of interest. In real estate photography, you can utilize architectural elements such as staircases, hallways, or even furniture to create leading lines. This technique not only guides the viewer’s eye but also adds depth and visual interest to your photos.
- Framing:Framing is a technique where you use elements in the foreground to frame the main subject of your photo. This can be achieved by incorporating doorways, windows, or even tree branches to surround the subject. By doing so, you add context and draw the viewer’s attention to the main focal point.
- Symmetry and Balance:Symmetry and balance can create a sense of harmony and order in your real estate photos. Look for symmetrical elements within the property, such as windows, columns, or furniture, and position yourself to capture them symmetrically. A balanced composition can evoke a feeling of stability and professionalism.
- Inclusion of People or Objects: Adding people or objects can help give scale and perspective to your real estate photos. For example, including a person or furniture in a room can help potential buyers visualize the space better. However, be mindful not to overcrowd the photo and ensure that the main focus remains on the property itself.
By applying these composition techniques, you can elevate your real estate photos and make them more visually appealing to potential buyers.
Editing Tips and Tricks for Professional Real Estate Photos
Editing plays a crucial role in enhancing real estate photos and making them stand out. Here are some tips and tricks to help you achieve professional-looking results:
Using editing software to enhance real estate photos
Invest in good editing software to make the most out of your real estate photos. Programs like Adobe Lightroom or Photoshop offer a wide range of tools and features to enhance the quality and aesthetics of your images.
- Adjust exposure: Brighten up dark areas and tone down overexposed ones to achieve a well-balanced exposure in your real estate photos.
- Enhance colors: Use color correction tools to adjust the saturation, temperature, and tint of your photos, making them more vibrant and visually appealing.
- Crop and straighten: Trim any unnecessary elements from the frame and ensure that the lines in your photos are straight and aligned.
- Remove unwanted objects: Use the cloning or healing brush tool to remove any distracting objects or imperfections from the image.
- Sharpen details: Apply sharpening techniques to bring out the fine details in your real estate photos, making them look crisper and more professional.
Remember, while editing can enhance your photos, it’s crucial to maintain a natural and realistic look to represent the property accurately.
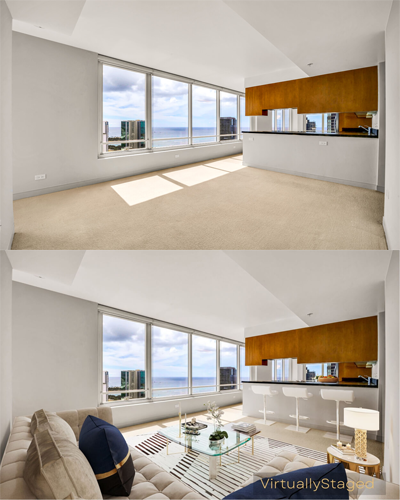
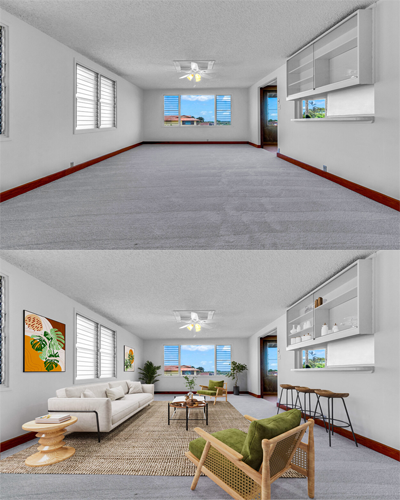
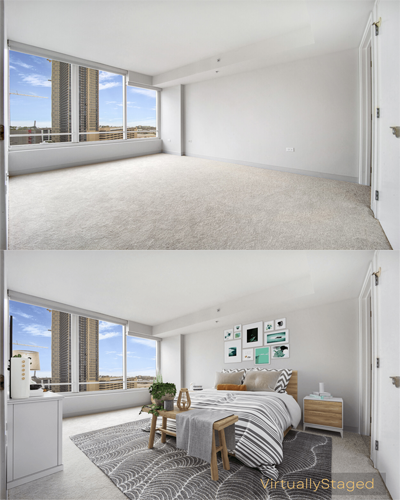
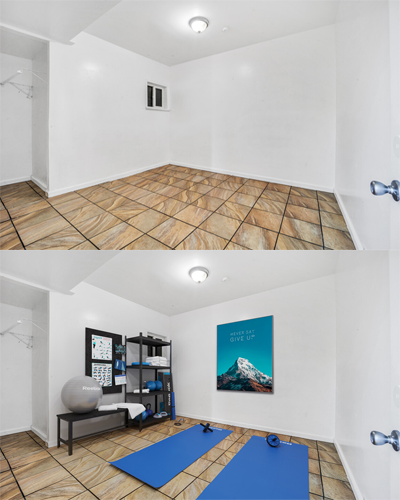
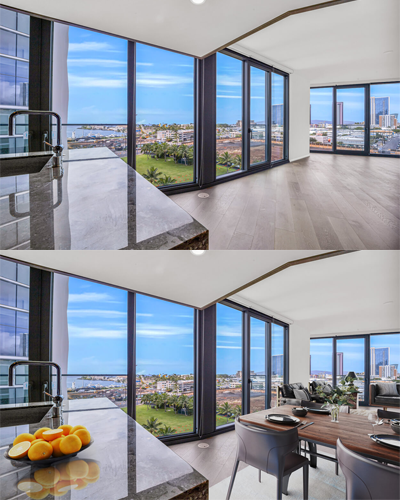
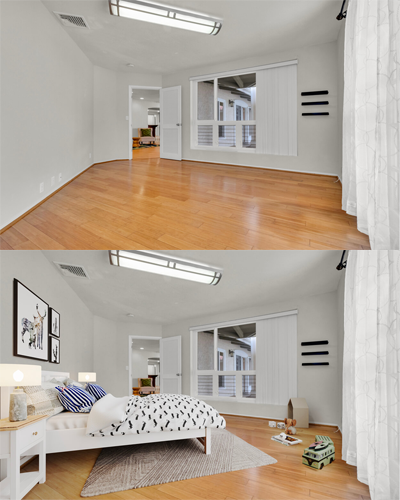
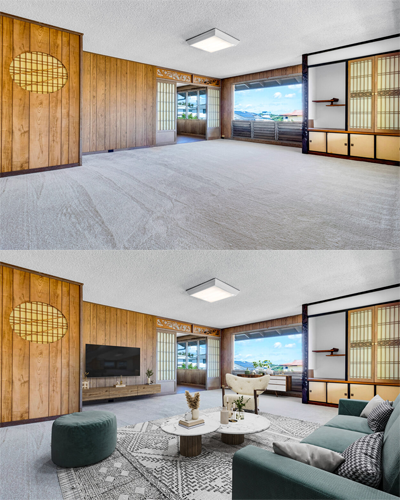
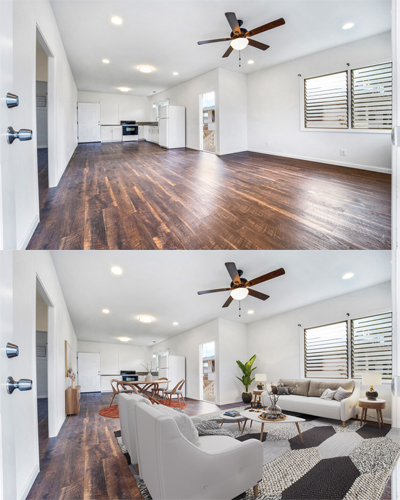
*Virtual Staging Studio can help you edit your photos and make them look professional. We offer services such as Sky Replacement to replace the unappealing sky in the background, and Photo Enhancement to bring out the best in your photo. Check our other services.
Optimizing and Sharing Your Real Estate Photos for Maximum Exposure
Once you have captured stunning real estate photos, it is important to optimize them for online platforms to maximize their exposure. Here are some tips to help you with this process:
Optimizing Real Estate Photos for Online Platforms
- Resize Images: Before uploading photos to online platforms, make sure to resize them to an appropriate resolution. Large file sizes can slow down loading times and deter potential viewers.
- Choose the Right File Format: JPEG is the most common file format for online photos. It offers a good balance between image quality and file size.
- Add Relevant Keywords: When uploading your photos, add relevant keywords in the file name and description. This will improve their search engine visibility.
- Add Metadata: Metadata such as location, property details, and copyright information can enhance the professionalism and credibility of your real estate photos. Consider adding this information to the file’s metadata.
Effective Strategies for Sharing Real Estate Photos on Social Media
- Create Engaging Captions: Craft compelling captions that highlight the unique features and selling points of the property. This will help capture the attention of potential buyers.
- Use Relevant Hashtags: Research and include relevant hashtags in your social media posts. This helps increase the discoverability of your real estate photos.
- Encourage Engagement: Ask your audience for their opinions or questions about the property. Engage with them by responding to comments and messages promptly.
- Collaborate with Influencers: Partnering with influencers or real estate professionals can increase the reach and exposure of your real estate photos on social media.
By optimizing and strategically sharing your real estate photos, you can attract more potential buyers and significantly increase the exposure of your listings.